Hello and welcome aboard ourStamp of the month Australasian Close to My Heart Blog Hop. If you have arrived here from Marguerite Svendsen-Designs by Marguerite– then you are in the right place. If you landed here by accident, no problem, please join in by following the link at the end of this post.
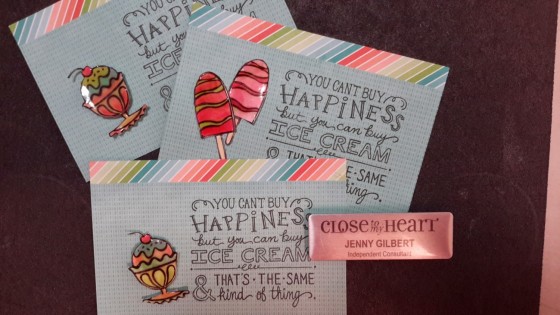
Today I would like to share with you this card which features June Stamp of the Month Icecream Dreams S1506 available exclusively throughout June for $27 or for just $5 when you spend $75.
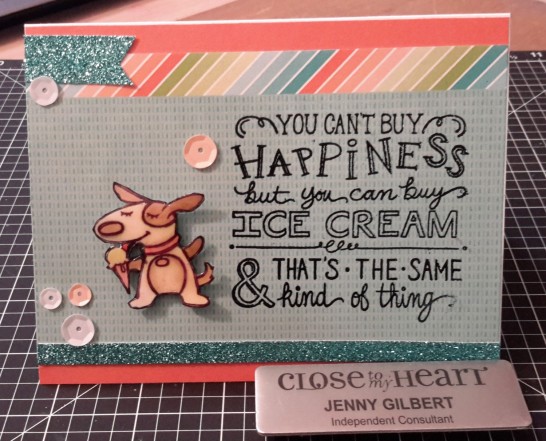
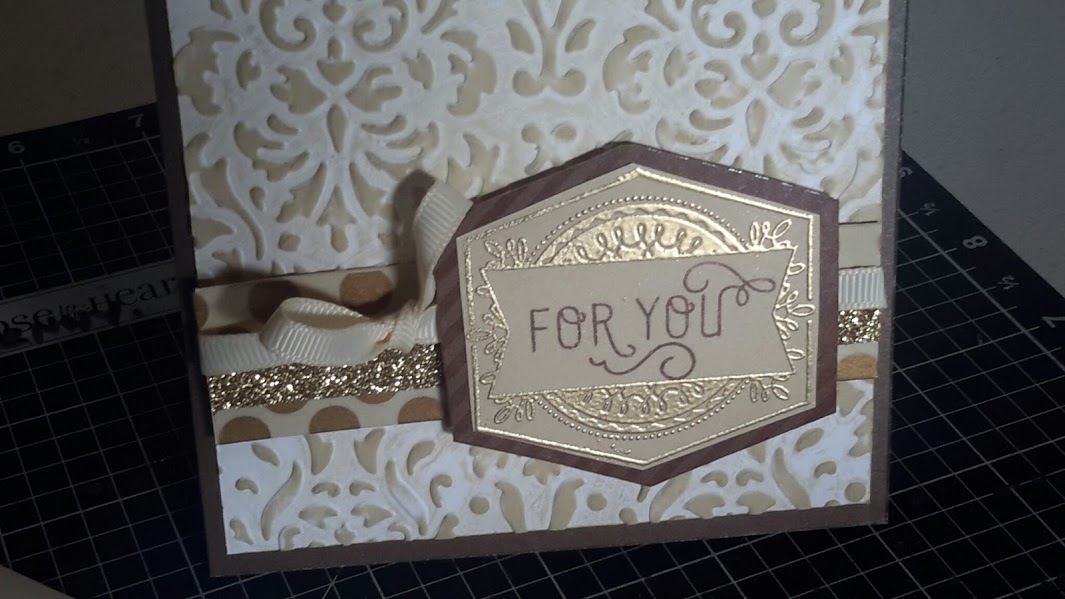
I started this fun card stamping up a few versions of it using just Black ink to stamp the label but this one features a Black embossing powder I have. I have also used out glitter paper and sequins.
I am going to share with you some tips for colouring the icecreams and the dogs in this post. If you want to skip ahead, your next stop in the hop is Maz. Please leave me a comment before you go.
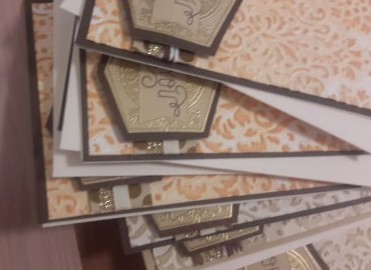
A few variations of the same idea before they make it to a card
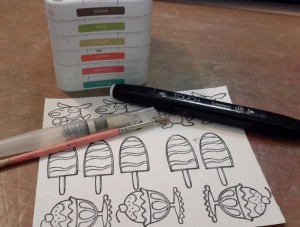
You have 2 choices for colouring here and they both begin by squishing your ink pad so some ink ends up on the lid as shown. You need to choose to use either your colourless Shin Han Marker Z2469 or a paintbrush. I have a fillable paint brush commonly available from craft stores. You can also use a standard size 3 nylon brush. 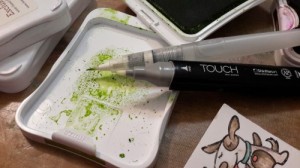
Add water to the ink you have transferred to your lid and you have a water colour to play with. All you need is to remember a few simple rules,
- a softer colour requires a mix of more water, less ink – and vice versa – a strong vibrant colour will come with less water and more ink.
- rinse between colours
- do not over wet CTMH White cardstock – it will bleed no matter what ink you use for the image to colour if it gets too wet from either your brush or your marker.
- Paper towel nearby is a useful blotter to remove too much water
- turn your work so you are pulling colour toward you. You will notice I often turn my work in my videos.
- Enjoy he pocess and fuss less. These will go on a card, not win an art award….
I believe cards need to be made with scraps and these samples have all been made with a strip scrap after last months workshop. (Look for my give away at the bottom of the post)
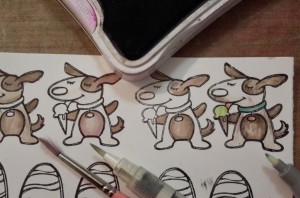
Brush colouring on right, clear marker colouring on left – you decide which you like best
You CAN use your colourless Shin Han Marker if you are not comfortable with a brush. I have illustrated this in the video. However, I find this process too slow and tedious and much prefer to paint. I also have much more control over the colour and its intensity as you will see.I can get a much softer blend too. (However I acknowledge I am very comfortable with a paintbrush in my hand)
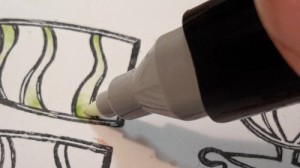
You can also see I have stamped a number of these elements on one card. Make sure it is thoroughly dry. The next step is to give them a good coverage of Liquid Glass z769. Your liquid glass will cause bleeding if the artwork is not bone dry. (Try setting it with a heat gun). Be sure to leave it a long time. (OVERNIGHT). You can then fussy cut the items out and mount them to the card.Once cut you can ‘hide’ the white core by colouring the edge with a Shin Han Black marker.Z2446
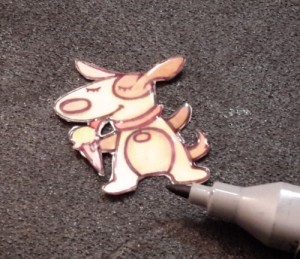
 The full palette of colours is inspired by the palette listed for the Blossom papers. Exclusive Inks Lagoon, Blossom, Sorbet, Flaxen and Pear. I used Cocoa for the Dog. (it does look green when you add water – don’t panic, it dries brown.)
To finish off my card I have used some Teal glitter paper z1991 and Sorbet Cardstock. I have used the Coral sequins too.
Here is a Video to show you how I colour with both the pen and the brush. *embedding you tube does not want to play the game nicely with me tonight so here is the Link to click.
June Stamp of the Month Icecream Dreams S1506 available exclusively throughout June for $27 or for just $5 when you spend $75. You can shop online right now with The Creative Heart. or contact your consultant.
I sincerely hope I have inspired you to give brush colouring a go and compare it to the Colourless Shin Han Marker. Give each a try and see what is a good fit for you!
Your next stop along the hop is Maz
Shopping